This article will cover how to deploy your Django app to an Ubuntu Droplet from Digital Ocean
Luckily you don't have to learn web server configuration or even SSH into the droplet.
Let's start, it will take us less than 15 minutes to get your app running
If you are looking for tutorial for another cloud provider checkout out one of these:
- Deploy Django on Hetzner Cloud
- Deploy Django to AWS EC2
- Deploy Django to AWS Lightsail
- Deploy Django on Linode
- Deploy Django on Azure
- Deploy Django to Google Cloud Platform
Table of contents
Requirements
- An application in Git repository
- Digital Ocean account
- Appliku account
Django Application
The application used for this tutorial can be found here: https://github.com/appliku/djangotutorial
Your app should be pushed into a git repository. You can use GitHub, GitLab.
For ease of deployment we have the following recommendations:
- have the
requirements.txtfile in the root of your git repository. Don't forget to addgunicorn(or alternative) andpsycopg2-binary==2.9.5for Postgres support (orpsycopg[binary]) - Your app needs to respect environment variables like
DATABASE_URLfor the database credentials,ALLOWED_HOSTSfor the list of allowed domains,SECRET_KEYandREDIS_URLif applicable. - Please, don't forget to have DEBUG turned off when you deploy to a publicly accessible environment.
We have a full How to Start and Deploy a Django Project if you want to learn more
Also: check our SpeedPy.com SaaS boilerplate
Digital Ocean Account
If you don't already have a Digital Ocean account, Sign up now
Go here to create a new Digital Ocean API Token

After creating token, save it to a safe place, you will need it in a few moments.
Appliku Account
If you don't already have an Appliku Account create it by going here: Appliku Sign Up
Click on "Add a server"

Click on "Setup Credentials" for Digital Ocean

Paste your token that you created earlier in Digital Ocean dashboard and click "Test & Save Credentials"

Status should say "Active" if the key was correct

Go to "Servers"

Then "Add Server"

You can now select the "Digital Ocean" provider

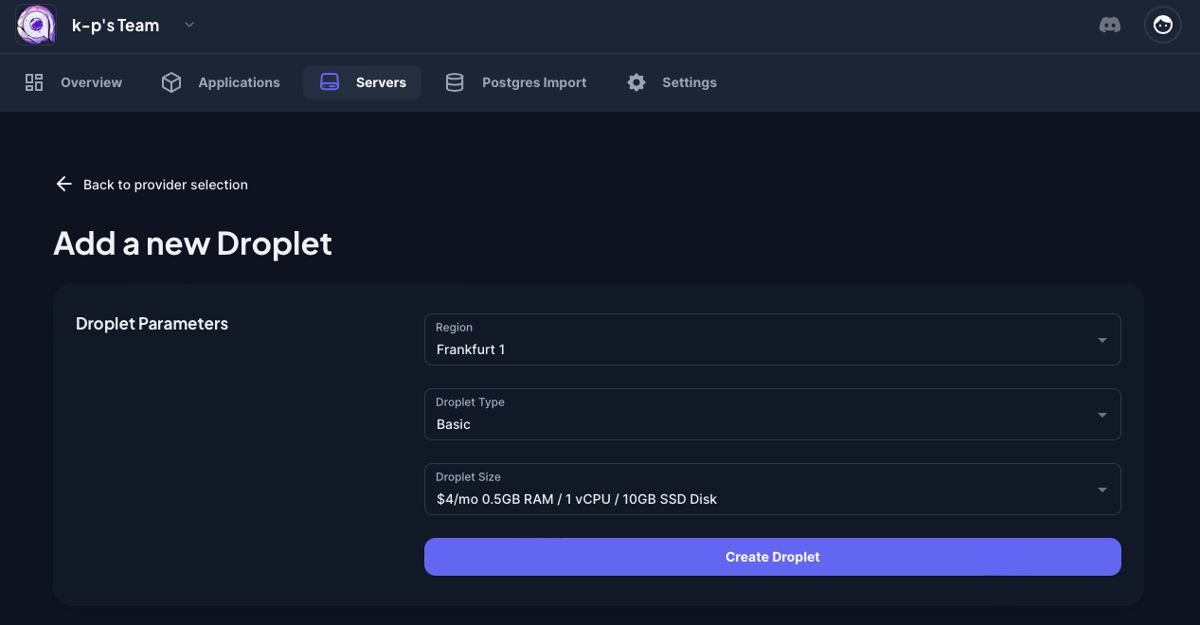
Select a region, droplet type and droplet size and click "Create Droplet"
You will be taken to the list of servers and you can see your new server there. Click on its name.

You can see that Appliku is waiting for droplet being fully booted to start the setup process

You can click on "Setup Logs" tab to see the logs of setup process

When server setup is finished you will see stats and "Setup Status" on the left will say "Finished".

Adding an application
Click on the "Applications" menu link

You will get to the Git Provider selection.

Creating application from GitHub
Select the "Setup Credentials" for GitHub.

You need to get a personal token from GitHub.
Go to this link to create a token: https://github.com/settings/tokens

Click on Generate new token -> Generate new token(Classic) Fill in the note, select expiration date, check the "repo" checkbox and "user:email"


And click "Generate token".
Copy the token from the next page.

Go back to Appliku dashboard and paste the GitHub Token, and click Test Credentials and Save

Status must change to "Active".
Click on the logo in top left corner to get back to your team and go to Applications again and create an app, select GitHub.

Fill the form with the app name, select the repository with your application, branch and select the server, click on "Create Application".

You will see your app has been created, but not yet deployed.

Creating application from GitLab
Alternatively if you use GitLab you should add credentials for GitLab and create an app from GitLab.
Go to Applications menu link, Click "Add Application" and Setup credentials for GitLab.

You need to create a Personal Access Token here: https://gitlab.com/-/profile/personal_access_tokens
Give the key a name, set or clear expiration date, select "api" checkbox and click "Create Personal Access token"

Copy the token and paste it in Appliku dashboard.
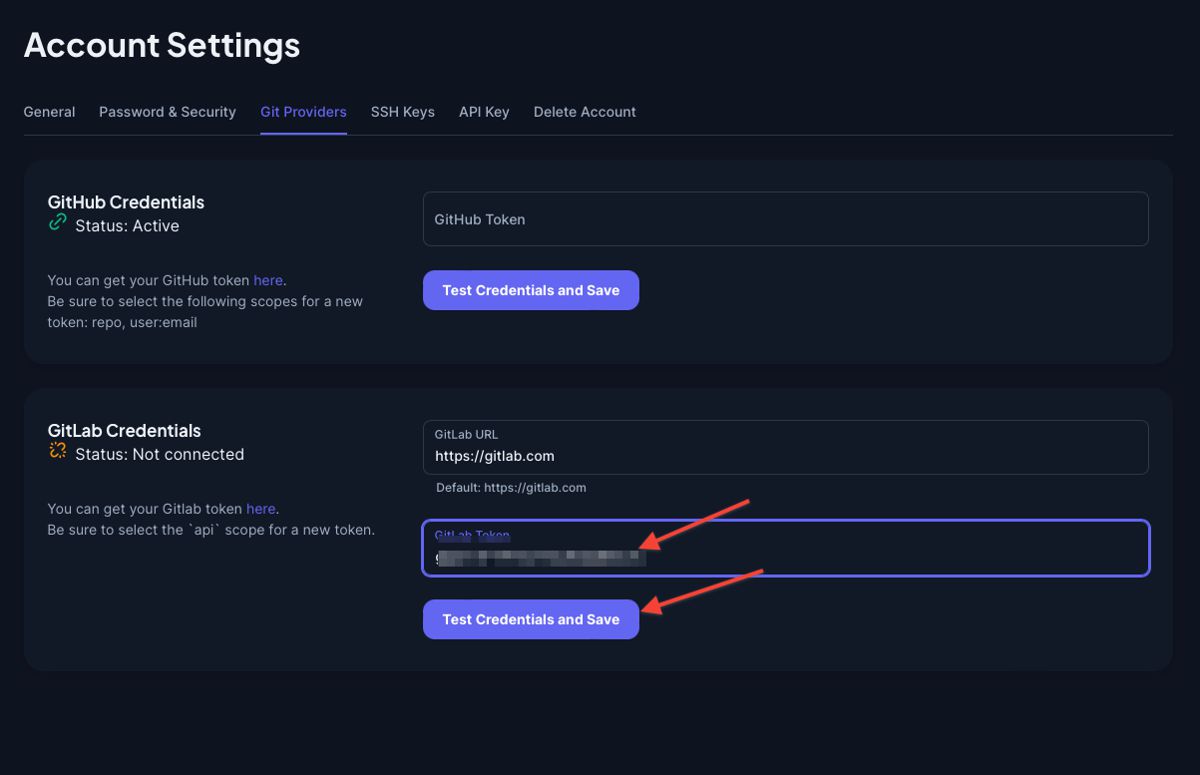
After you click "Test Credentials and Save" the Status should turn green and say "Active".
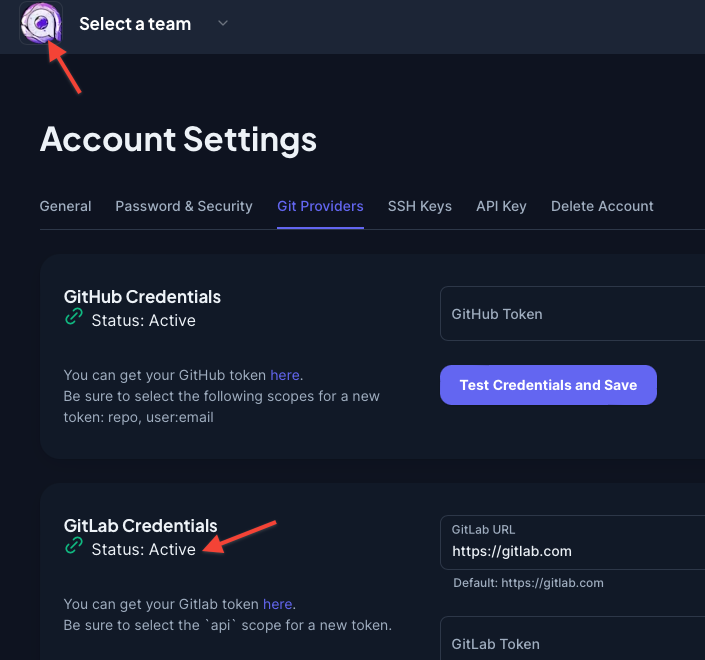
Click on the logo to go back to your team, go to Applications, Add Application and select GitLab

Give your application a name, pick repository and the branch, select the server and click "Create Application"

Setup the app
Databases
First, create a Postgres Database. Click on Add Database on the right

Select the Postgres 16 option and click "Create database"

Your database will start deploying, wait for the deployment status to become "deployed".

Define processes
Let's tell Appliku how to run your app
On the Application Overview page you will see a red triangle saying "No processes found".
Click on the "Add Processes" button.

Add two processes:
- one MUST be called
webto answer to HTTP requests and command should begunicorn project.wsgi --log-file -(pay attention to the last dash). It can be slightly different for your project - second one MUST be called
releaseand this is the command that will be executed after each successful deployment. If not specified it will default topython manage.py migrate. I recommend to create a bash script if your app needs to run several commands executed on each release. In our example, the command isbash release.sh
Click save and deploy button, a deployment will start.
Environment variables
Go to the "Environment Variables" tab and add env vars needed for your project.
At least specify the SECRET_KEY and ALLOWED_HOSTS.
These variables should be used by your app you can check here how to do that: https://github.com/appliku/djangotutorial/blob/master/project/settings.py
The SECRET_KEY variable value should be some long hard to guess string.

The ALLOWED_HOSTS variable should be a list of domains on which your app is accessible. As I already mentioned above, don't hardcode this, but make your app respect this environment variable.
By default, each app in Appliku receives a subdomain APPNAME.applikuapp.com, so in our example it should be mydjangoapp.applikuapp.com. If you add custom domains, make a comma-separated list like this mydjangoapp.applikuapp.com,example.com,www.example.com.
You can disable the default subdomain in build settings.
When you are finished with environment variables click the "Save and deploy" button and deployment will start.
Reviewing application logs
From the Application Overview page you can go to App Logs to check if there are any errors.


Open your application

To access your app click on "Open App" and click on the domain name. It will open your app in a new window.
For a complete Django deployment reference, see the Deploy Django guide in our documentation.